
Pre-construction site visit checklist
Updated October 8, 2026
Fill this in on your iPhone, on site, with Sitewise.
Get the appA pre-construction site visit records what the site and everything around it looks like before anyone breaks ground. The checklist below covers the existing conditions that come up later in claims: cracks in the neighbors' walls, the state of the road and sidewalk, trees, drainage and utilities. Each gets a dated photo and a one-line note while it is still undisturbed.
Nobody reads this record until a neighbor says the piling cracked their kitchen wall, or the city says the trucks broke the curb. Then the question is whether anyone has dated photos of that wall and that curb from before the work started.
Walk it before the equipment arrives
Do the survey close to the start date, so it shows the conditions work actually begins in, but before anything has been delivered, parked, stockpiled or dug.
A survey done after the first excavator arrives can be argued to show damage the excavator caused. If the start date slips by months, walk it again.
Write the walk order at the top of the checklist: the frontage first, then each neighbor, then the site itself, then utilities. Keep that order so the record reads as a route rather than a pile of photos.
The header fields
| Field | What goes in it |
|---|---|
| Project | Name, number and site address |
| Purpose | Pre-construction existing conditions survey |
| Date and time | Start and finish of the walk |
| Weather | Dry or wet matters for drainage and staining |
| Surveyed by | Name and company |
| Present | Neighbors, owner's rep, anyone who came along |
| Scope | Which properties and which stretch of road are covered |
| Planned work | One line: demolition, excavation, piling, new build |
The scope line is the one people leave vague. Write down which adjacent properties you walked and which you could not get into. A neighbor whose house you never entered has no baseline inside it, and the record should say so plainly.
The checklist
For each item, record the condition, a note on anything visible, and the photo numbers. Things in good condition get recorded too, since a photo of an undamaged wall is what answers a later claim that the work damaged it.
Frontage and public realm:
- Sidewalk along the whole frontage, slab by slab where cracks exist
- Curbs and gutter, including dropped curbs at existing entrances
- Road surface along the frontage, with existing patches and potholes
- Drainage inlets and grates, and whether they were clear on the day
- Street trees, light poles, signs, hydrants, bollards
- Any existing marks from earlier works
Adjacent properties, each one:
- The walls facing the site, wide and then section by section
- Existing cracks, close up with a ruler or crack gauge in the frame
- Foundations and plinths where visible
- Paving, driveways, garden walls and fences on the shared boundary
- Gutters and downpipes on the side facing the site
- Inside rooms on the shared wall, if the owner lets you in
The site itself:
- Every existing structure to be kept or demolished
- Boundary fences, gates and walls
- Trees and their root zones, especially any to be protected
- Ground conditions: standing water, soft areas, signs of fill or dumping
- Access points and the route deliveries will take
Utilities:
- Overhead lines, with their height over the access route if you can tell
- Meters, manholes, valve boxes and service covers
- Utility locate marks, if the locate has been done
- Any sign of buried services not on the drawings
In the US, call 811 before any digging so the utilities mark their lines. Photograph the marks once they are down, because paint fades and gets scraped off within weeks.
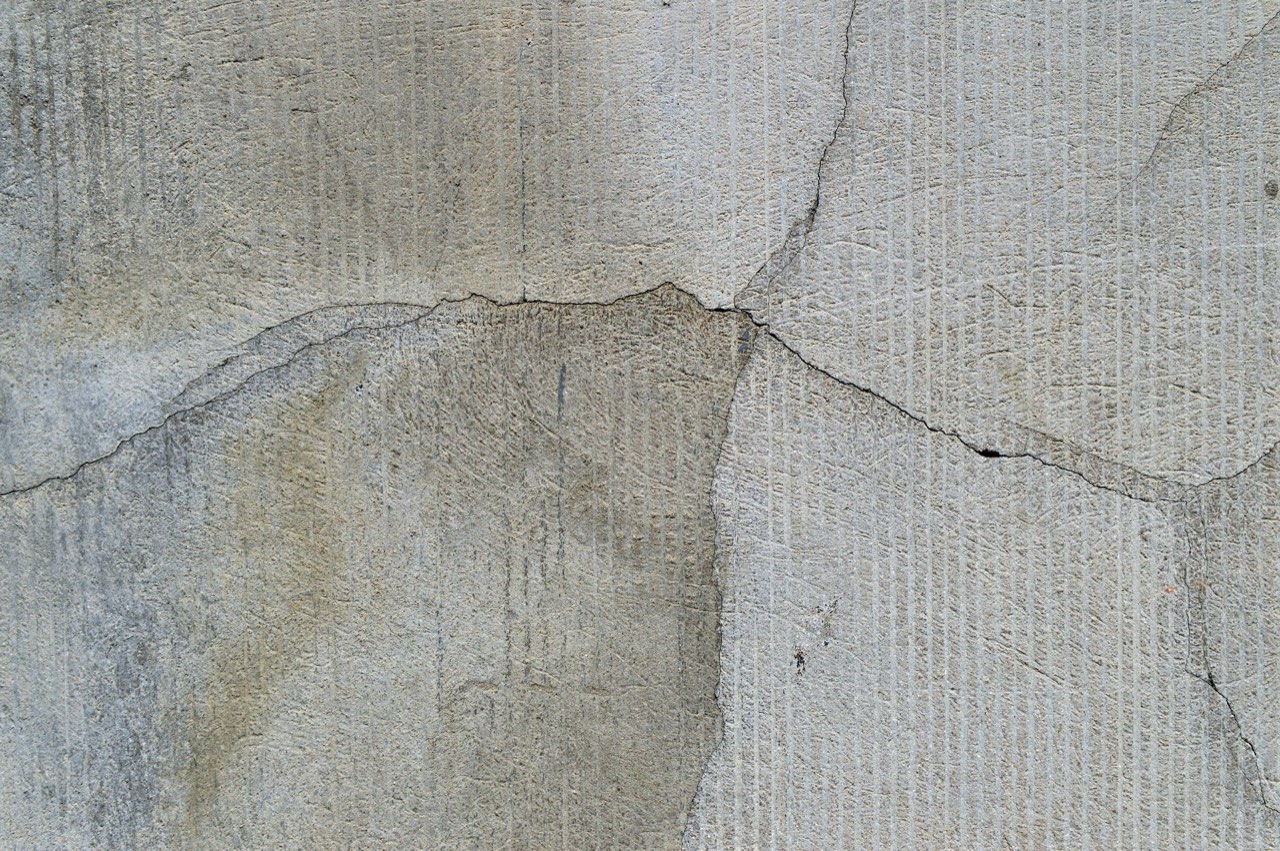
Photograph cracks so they can be measured later
An existing crack is only useful as a baseline if a later photo can be compared with it. That takes three shots.
First, wide enough to show the whole wall and where the crack sits. Second, the full length of the crack. Third, close up with a ruler or crack gauge across the widest point, square to the wall.
The note says what the photo cannot: the location ("north wall of 14 Elm St, facing the site, 3 ft left of the kitchen window"), the length and the width at the widest point. A later survey that measures the same crack in the same place answers the question of whether it grew.
A filled example
22 Elm Street, new two-story addition. Pre-construction existing conditions survey, October 6, 2026, 08:00 to 09:15, dry. Surveyed by R. Chen. Present: owner of 14 Elm Street for the north side. Scope: Elm Street frontage from 12 to 26, properties at 14 and 24. 24 Elm Street interior not accessed, owner away.
| # | Location | Item | Condition | Note | Photos |
|---|---|---|---|---|---|
| 1 | Frontage | Sidewalk | Fair | Two cracked slabs in front of 20, existing | 1 to 3 |
| 2 | Frontage | Curb at driveway | Good | Dropped curb intact, no chips | 4 |
| 3 | Frontage | Storm inlet | Good | Grate clear, flowing | 5 |
| 4 | 14 Elm, exterior | North wall | Fair | Hairline crack from window head to eaves, about 4 ft long, under 1 mm at widest | 6 to 8 |
| 5 | 14 Elm, interior | Kitchen wall on shared side | Good | No cracks, paint sound | 9, 10 |
| 6 | 24 Elm, exterior | Garden wall on boundary | Poor | Leaning about 2 in. over 4 ft, mortar missing at base | 11 to 13 |
| 7 | Site | Oak at rear boundary | Good | To be protected, root zone clear | 14 |
| 8 | Utilities | Overhead line over drive | Noted | Crosses delivery route, height to confirm | 15 |
Row 6 needs the most care. With dated photos of the lean before excavation, nobody can blame it on the excavation. Without them, the contractor has no answer if the neighbor says the dig caused it.
Send it before work starts
Send the finished record to the owner and the contractor the same day, and offer each neighbor the photos of their property. A baseline both sides have seen before the work started is much harder to dispute than one produced after a complaint.
Keep the original captures with their timestamps. A PDF is easy to read; the dated originals are what prove when each photo was taken.
Where Sitewise fits, and where it does not
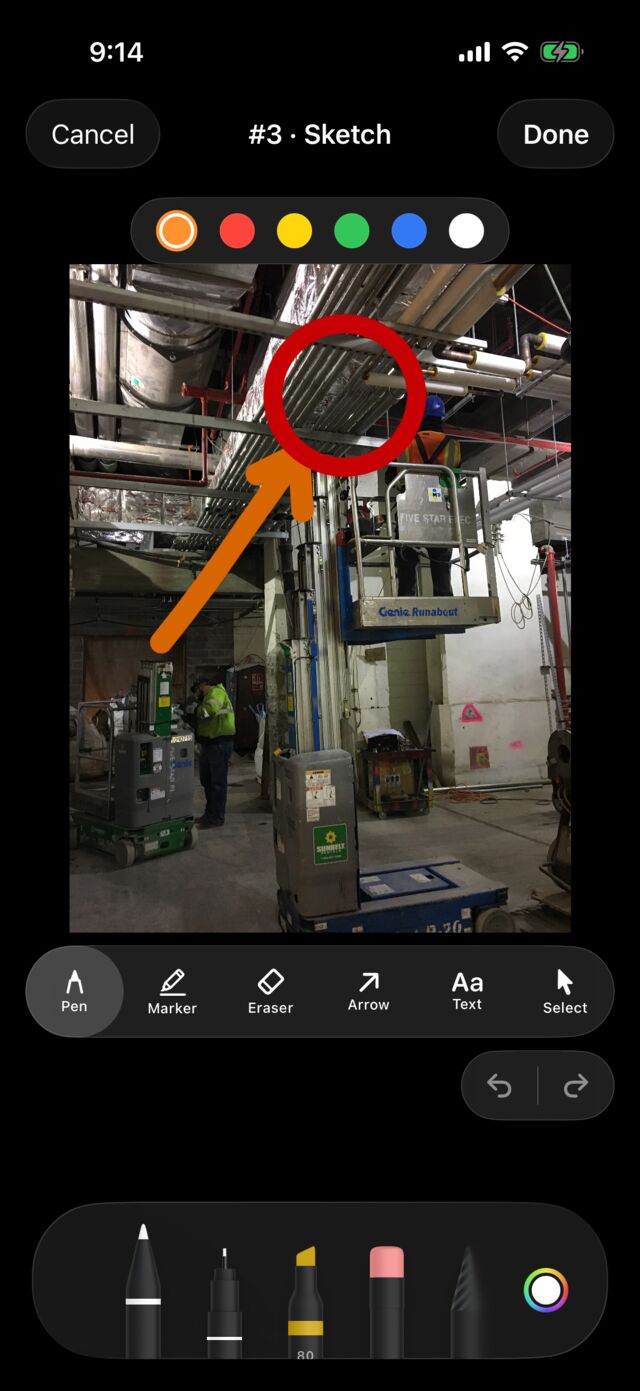
Sitewise runs the walk on iPhone and iPad. Every photo, dictated note, sketch and typed observation is stamped with the capture time and, with location on, a GPS pin, which is most of what a baseline photo needs. You can circle a crack on the photo with the sketch tools, and on a Pro iPhone or iPad with LiDAR you can measure a length straight in the camera. It works with no signal and syncs later. The survey exports as a PDF or DOCX.
It is a capture and report tool. It does not do scheduling, budgeting, CAD or drafting, or e-signatures, and it runs only on iPhone and iPad.
For the report layout once the walk is done, see the site visit report template. For how to shoot and caption photos that still make sense years later, see photo documentation for contractors.
Questions people ask
- What is a pre-construction site visit?
- It is a walk of the site and its surroundings before any work starts, to record what is already there and what condition it is in. The record becomes the baseline for any later claim that the work caused damage or changed something.
- What should I photograph before construction starts?
- The neighbors' walls, foundations and paving facing the site, the sidewalk, curbs and road along the frontage, drainage inlets, trees, fences, any existing structures on the site, and every utility you can see. Photograph existing cracks close up with a scale in the frame, and wide enough to show which wall they are on.
- When should the pre-construction survey be done?
- As close to the start of work as possible, but before any equipment arrives. A survey done after the excavator is on site can be argued to show damage the excavator already caused.
- Should the neighbors see the pre-construction record?
- Usually yes. Offering a copy of the photos of their property, or inviting them to the walk, makes the baseline harder to dispute later. Some projects make it a condition of the permit or the party wall process, so check what applies.
Related guides
- Site visit report template
A site visit report template with the header fields, numbered observations and caption pattern that hold up in a dispute, plus a filled example and sample PDF.
- Construction photo documentation that still makes sense in three years
How contractors shoot, caption and file job site photos so they hold up later: wide-medium-tight, pre-cover shots, scale objects and same-day captions.
Write this report on site, not in the truck.
Sitewise turns photos, voice notes, sketches, and typed observations into a PDF or DOCX before you leave. iPhone and iPad, iOS 26 or later.
Get the app