
Insurance property inspection report template
Updated October 1, 2026
Fill this in on your iPhone, on site, with Sitewise.
Get the appAn insurance property inspection report records the damage from a loss so that someone who was not there can price it and decide whether it is covered. That reader is usually an adjuster, sometimes days later, and the template below is built so every entry answers their two questions: what is damaged, and what caused it.
The format suits a contractor, a property manager or an owner documenting a loss before the adjuster arrives. An underwriting inspection, where an insurer surveys a building before writing cover, is a different document with its own checklist, and this is not that.
The header pins the claim down
| Field | What goes in it | Example |
|---|---|---|
| Property | Street address and unit, as the policy names it | 17 Marlow Street, unit 3 |
| Policy no. | From the declarations page | Copied from the policy |
| Claim no. | Once the insurer assigns one | Copied from the claim acknowledgment |
| Date of loss | When it happened or was discovered, and which | Discovered September 29, 2026, 07:30 |
| Date of inspection | The walk itself, start and end | September 29, 2026, 09:10 to 10:25 |
| Inspected by | Name, company and role | D. Farrow, Farrow Restoration |
| Present | Everyone on the walk | Owner, building manager |
| Cause as reported | In the reporter's words, not yours | "Water coming through the kitchen ceiling" |
Keep the reported cause in quotation marks. Your own reading of the cause goes into the entries, against the evidence for it, and the gap between the two is often the most useful thing an adjuster reads.
Note whether the date of loss is when it happened or when it was found. Policies treat those differently, and a report that blurs them invites a question you cannot answer from memory.
One entry per damaged area
Every room or surface with damage gets its own numbered entry.
| Field | What goes in it |
|---|---|
| No. | Running number, never reused |
| Location | Room, then surface, then position: "Kitchen, ceiling, above the sink" |
| Damage observed | What you can see and touch, without a verdict |
| Extent | Measured. Area, length, height of a tide line, moisture readings with the meter named |
| Evidence of cause | What points at the source: a split fitting, a stain pattern, a missing shingle |
| Photos | Capture numbers |
Extent is the field adjusters lean on, because it is the one they can price. "Water damage to ceiling" cannot be costed. "Stain about 4 ft by 3 ft, plaster soft to the touch across 2 ft by 2 ft at the center" can.
Evidence of cause is not the same as cause. Write what you saw that points at it. Whether the policy covers that cause is the insurer's call, and a report that argues coverage reads as advocacy.
Photograph before anything moves
Take them in this order.
- A wide shot of the property from the street, showing the address.
- A wide shot of each affected room from the doorway.
- Each damaged area, close, with a tape or a known object for scale.
- The source, if you can see it: the failed fitting, the opening in the roof, the tree limb.
- Undamaged areas next to damaged ones, so the boundary is clear.
- Damaged contents in place, before they are carried out.
- Mitigation in progress, then complete.
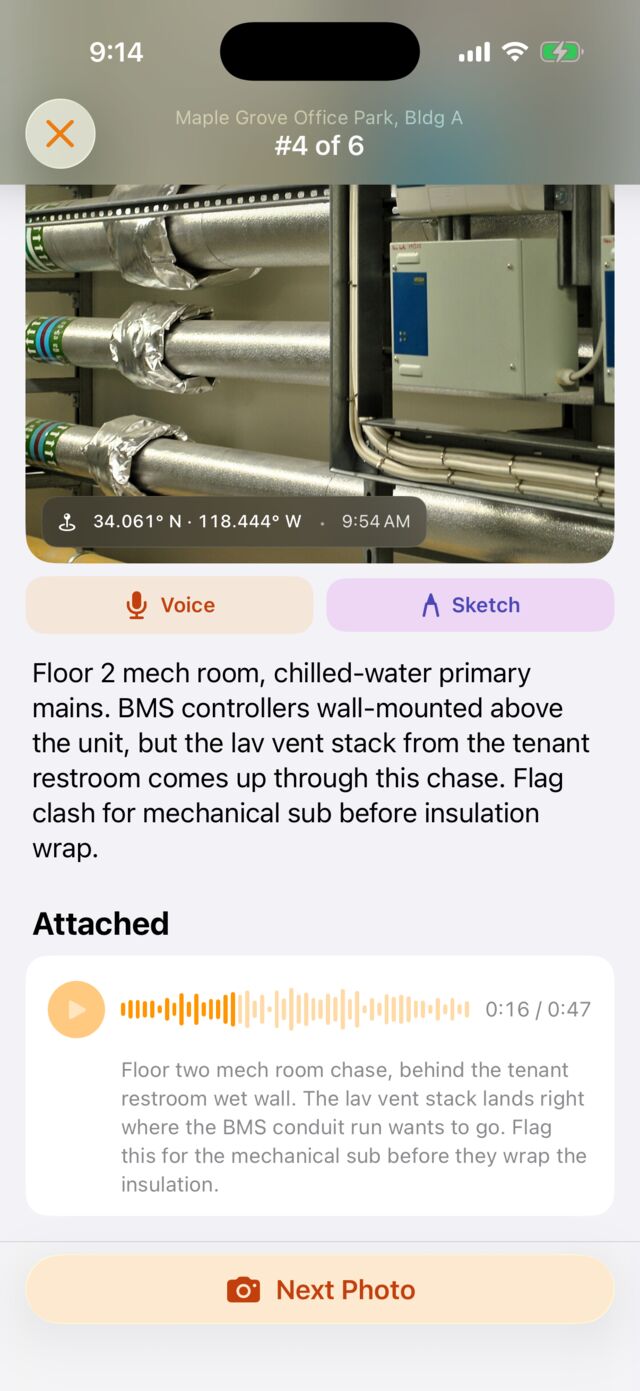
Every frame needs its date and time, and a location helps. An adjuster checking whether damage happened before or after the date of loss will look at the capture time first, and a photo with a stamped time and place is harder to question than one whose date somebody remembers.
Mitigation, pre-existing, not inspected
Three short sections close the report.
Mitigation lists what was done to stop the damage getting worse: water shut off, extraction, drying equipment set, a roof tarped. Give times and who did it. Policies commonly expect reasonable steps to limit the loss, and this section shows they were taken.
Pre-existing conditions are anything you saw that predates the loss: old staining, a sagging gutter, rot below the new wet line. Recording it yourself is better than leaving an adjuster to find it, because an unmentioned old defect makes the whole report look selective.
Not inspected names every area you could not reach and why. A ceiling void you did not open, a roof you could not safely walk, a locked storage room. An empty section here reads as a claim that you saw everything.
A filled example, from a loss that never happened
17 Marlow Street, unit 3. Discovered September 29, 2026, 07:30, by the tenant of unit 3. Inspected 09:10 to 10:25 by D. Farrow, Farrow Restoration, with the owner and building manager present. Cause as reported: "Water coming through the kitchen ceiling."
| No. | Location | Damage observed | Extent | Evidence of cause | Photos |
|---|---|---|---|---|---|
| 1 | Kitchen, ceiling, above sink | Brown stain, plaster soft at center, sagging about half an inch | Stain 4 ft by 3 ft, soft area 2 ft by 2 ft | Stain centered under unit 5's kitchen sink | 4 to 7 |
| 2 | Kitchen, wall behind sink | Paint blistered, drywall wet | 30 in wide, wet to 40 in above floor on the meter | Wet line falls from the ceiling stain | 8, 9 |
| 3 | Kitchen, base cabinet under sink | Cabinet floor swollen, delaminating | Full cabinet floor | Water pooled from above, cabinet trap dry | 10, 11 |
| 4 | Unit 5, kitchen, under sink | Braided supply line split at the crimp, cold side | One line | Split visible, water shut off at stop valve 07:50 | 12, 13 |
| 5 | Hall ceiling, unit 3 | No stain, dry on the meter | Checked to 6 ft from the kitchen door | None | 14 |
Mitigation: water shut off in unit 5 at 07:50 by the building manager. Standing water extracted and two dehumidifiers set in unit 3 at 10:30 by Farrow Restoration. Photos 15 to 17.
Pre-existing: old ring stain, dry, on the kitchen ceiling near the light fitting, separate from entry 1. Photo 18.
Not inspected: the ceiling void between units 3 and 5. Not opened pending the adjuster's visit.
Entry 5 is the one people leave out. Recording a dry hall ceiling sets the edge of the loss, which is what keeps the scope from being argued about later in either direction.
Capture it on the phone, send it from the site
Sitewise runs on iPhone and iPad. Each photo, dictated note, sketch and typed observation is stamped with the time and, with location on, a GPS pin. Notes dictated with wet gloves on transcribe on the device. On a Pro iPhone or iPad with a LiDAR scanner, two taps in the camera measure a dimension, such as the width of a stain or the height of a tide line, and print it on the photo and in the report. It works in a basement with no signal and syncs later, and the visit exports as a PDF or DOCX you can send to the adjuster that day.
It does not estimate repair costs, file the claim, or connect to an insurer's system, and it does not do e-signature. A restoration company still prices the work in its estimating software.
For the general shape of a damage entry outside an insurance claim, see the defect report template. Storm and hail losses usually start on the roof, and the roof inspection report template covers how to locate findings there.
Questions people ask
- What should an insurance inspection report include?
- The policy and claim numbers, the date of loss and the date of inspection, who inspected, and the cause of loss as reported. Then one entry per damaged area with what was seen, its extent in measurements, the evidence of cause, and the photo numbers. Mitigation already done, pre-existing conditions and areas not inspected each get their own section.
- Who writes the insurance inspection report?
- On a claim, the insurer's adjuster writes their own. Contractors, public adjusters, property managers and owners often write a separate one, because the adjuster may arrive days after the loss and the conditions on day one are gone by then. The two get read side by side.
- How soon after a loss should the property be documented?
- Before anything is moved, cleaned or dried, if it is safe to be there. Mitigation work is usually expected and often required, but it destroys the evidence of the original condition. Photograph first, then mitigate, and record the time of each.
Related guides
- Defect report template
A defect report template built to survive a disagreement: one defect per entry, what the work fails against, a location you can walk to, and an example.
- Roof inspection report template
A roof inspection report template you fill on the roof: plane by plane, one finding per entry, located off a curb or a drain, with a filled example.
Write this report on site, not in the truck.
Sitewise turns photos, voice notes, sketches, and typed observations into a PDF or DOCX before you leave. iPhone and iPad, iOS 26 or later.
Get the app